SETTING UP TRAP-X®
1
TRAP-X® Parts
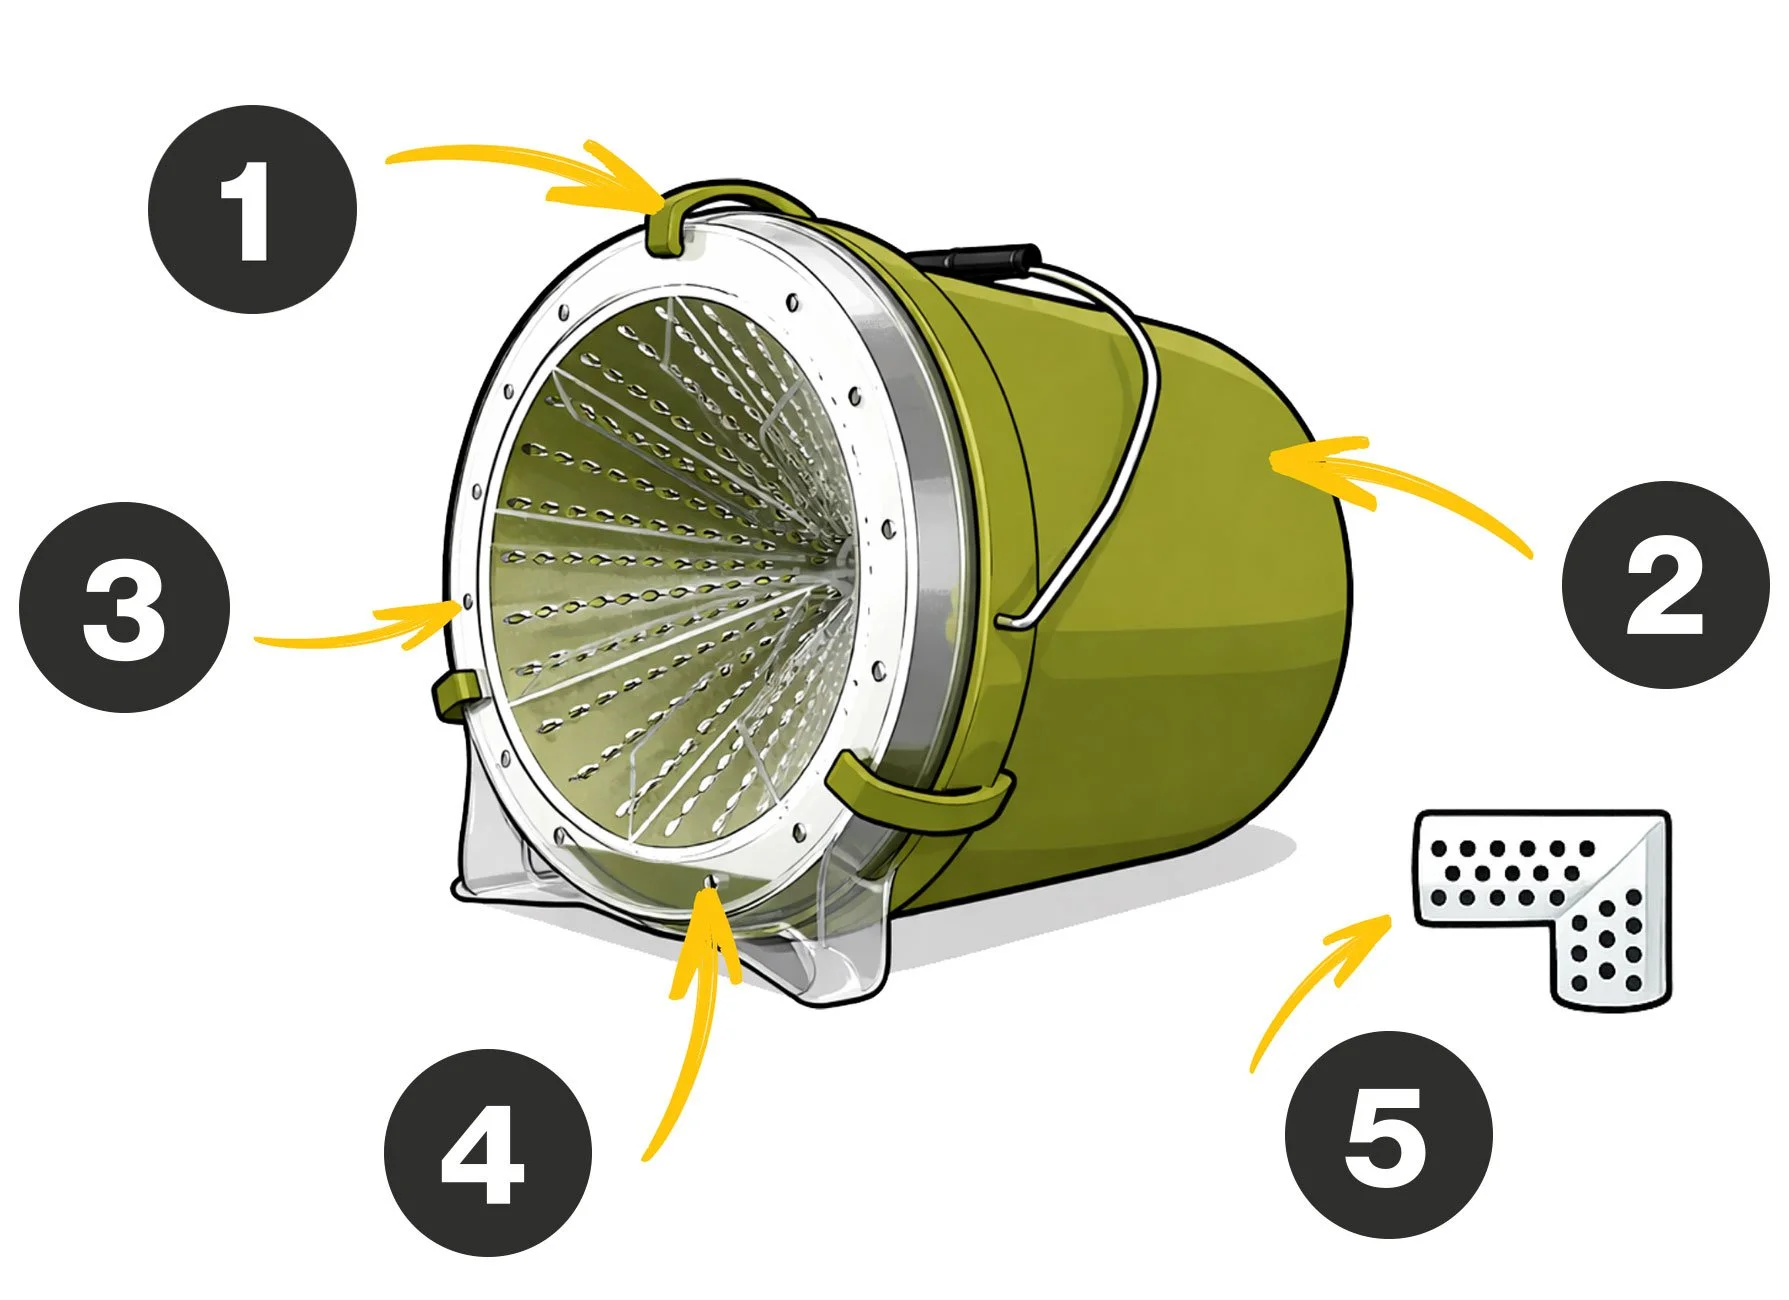
(1) Funnel mounting clip
(2) Trap container
(3) Bycatch escape holes
(4) Trap funnel lid
(5) Anti-escape elbow
2
Fitting the lid clips
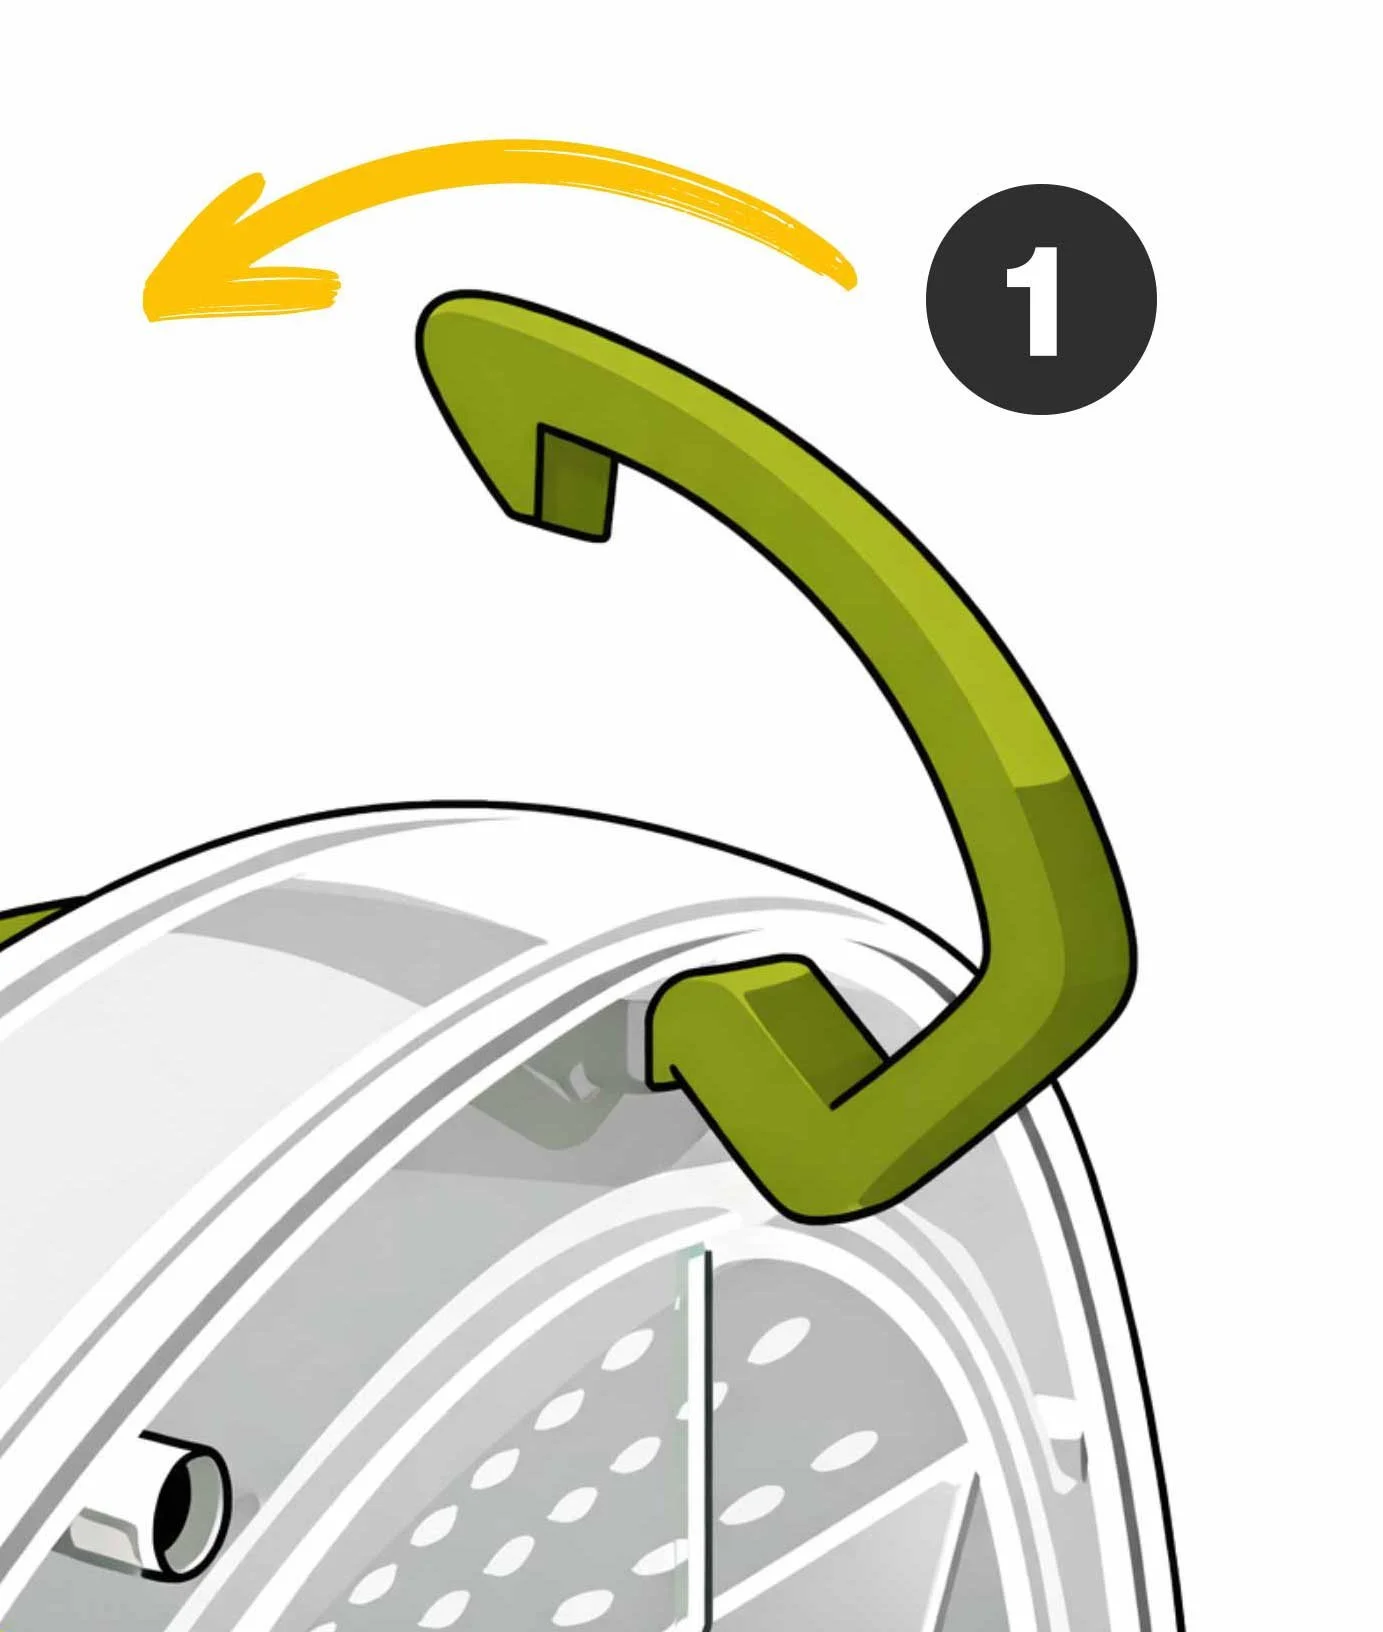
Insert the clip into the lid opening at an angle and rotate until it is fully inserted.
The clips are designed not to fall out easily and are a snug fit when inserting.
(1) Rotate clip
3
FitTING the anti-escape elbow
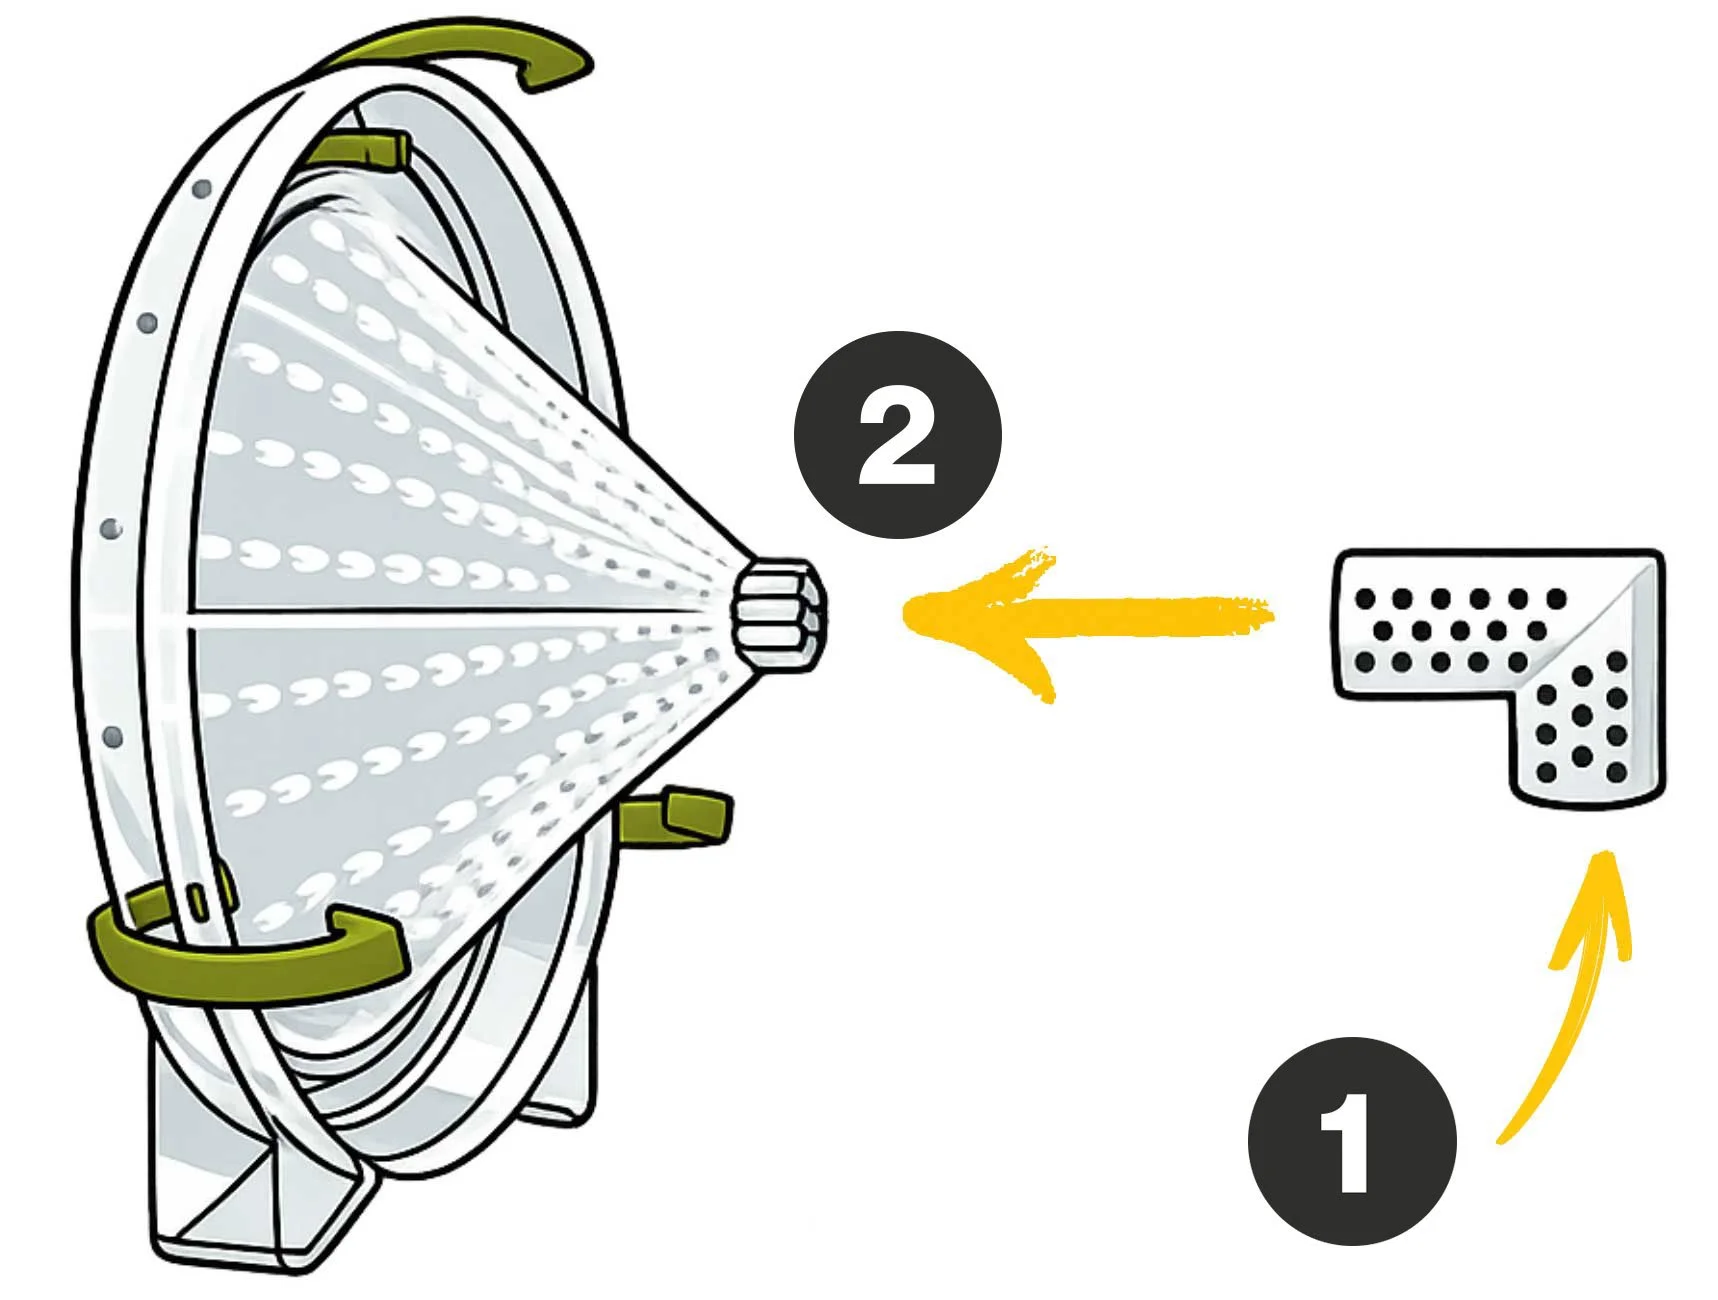
Attach the anti-escape elbow securely, with the long side connected to the funnel mount.
(1) Anti-escape elbow
(2) Funnel mount
4
Add insect lure container
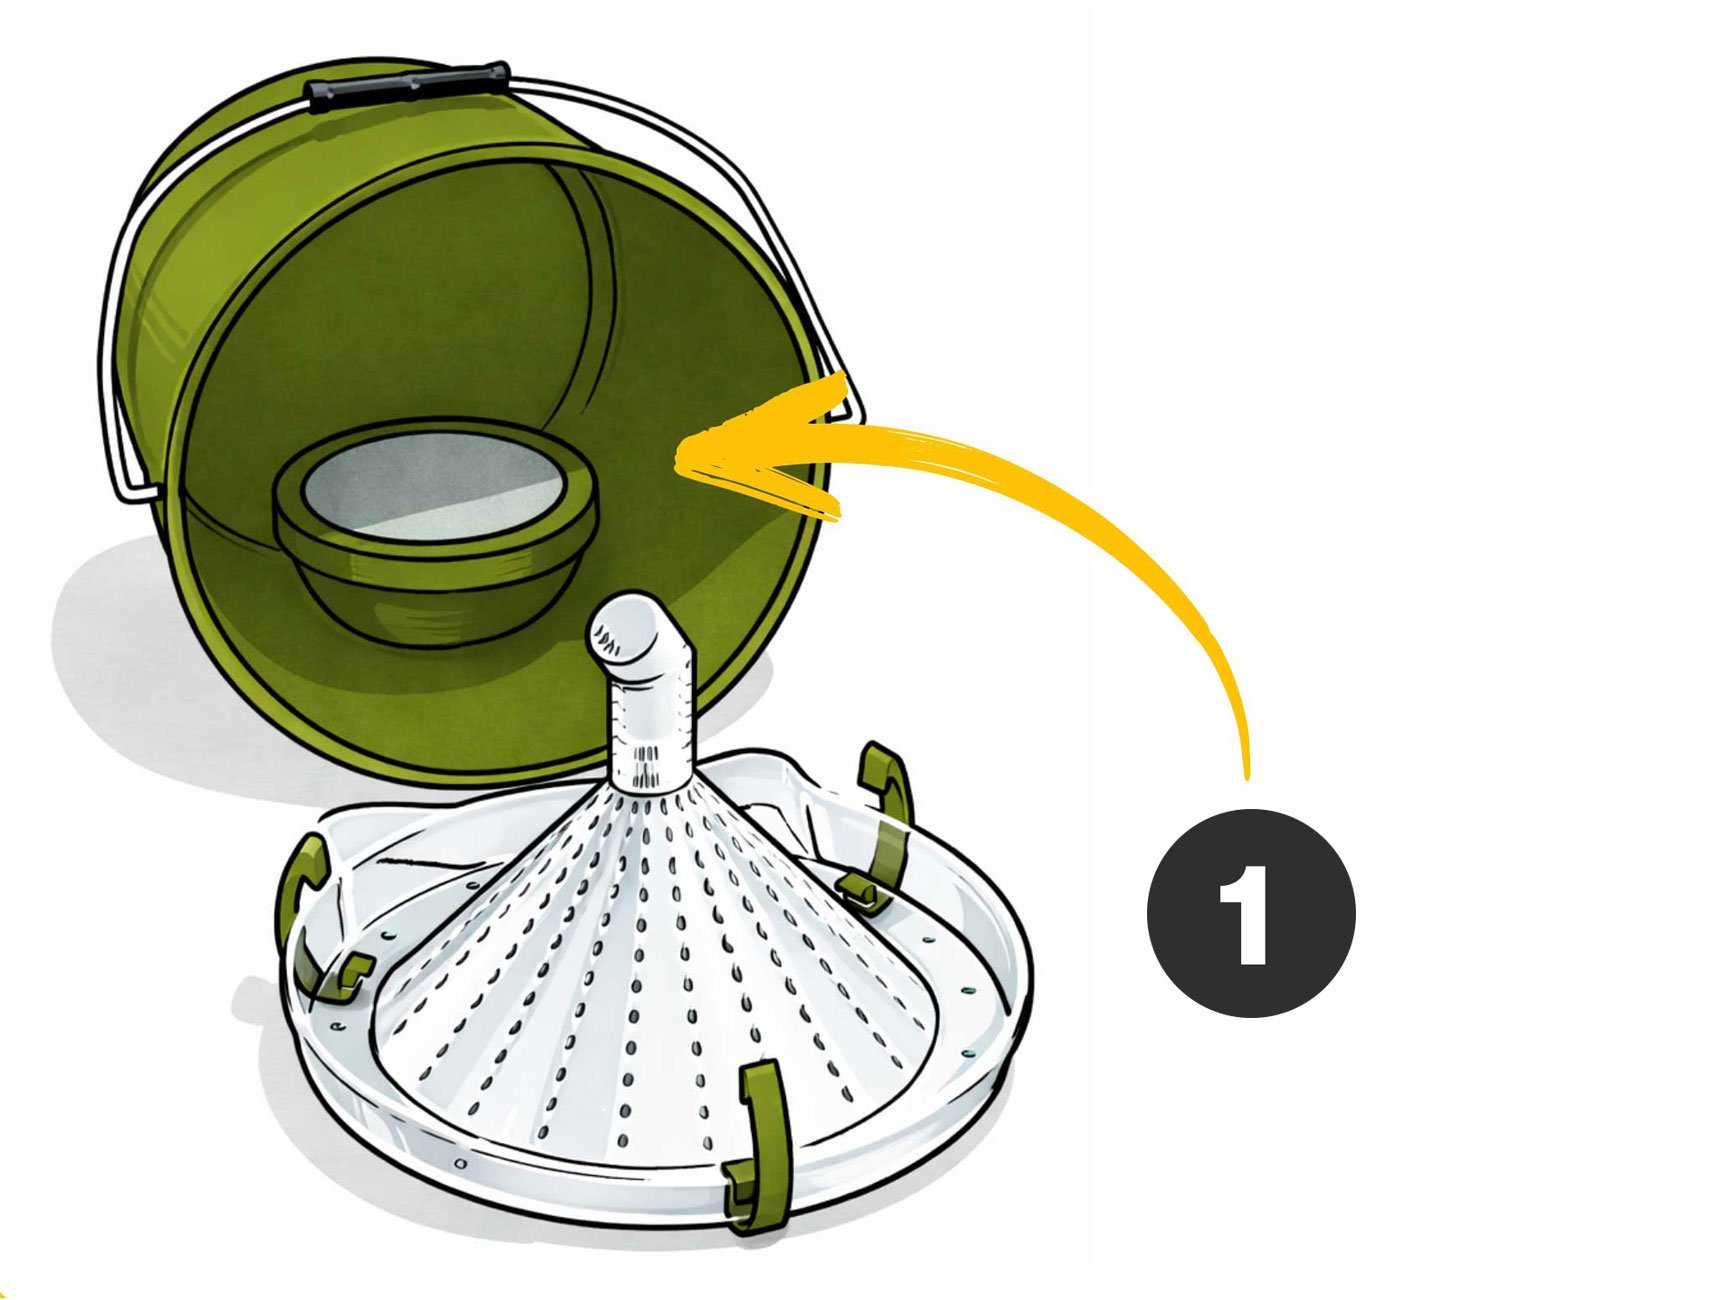
For best results use a Bait Pod™ inside Trap-X®. The Bait Pod™ allows efficient lure odour release.
(1) Bait Pod inside Trap-X
5
Close and Secure
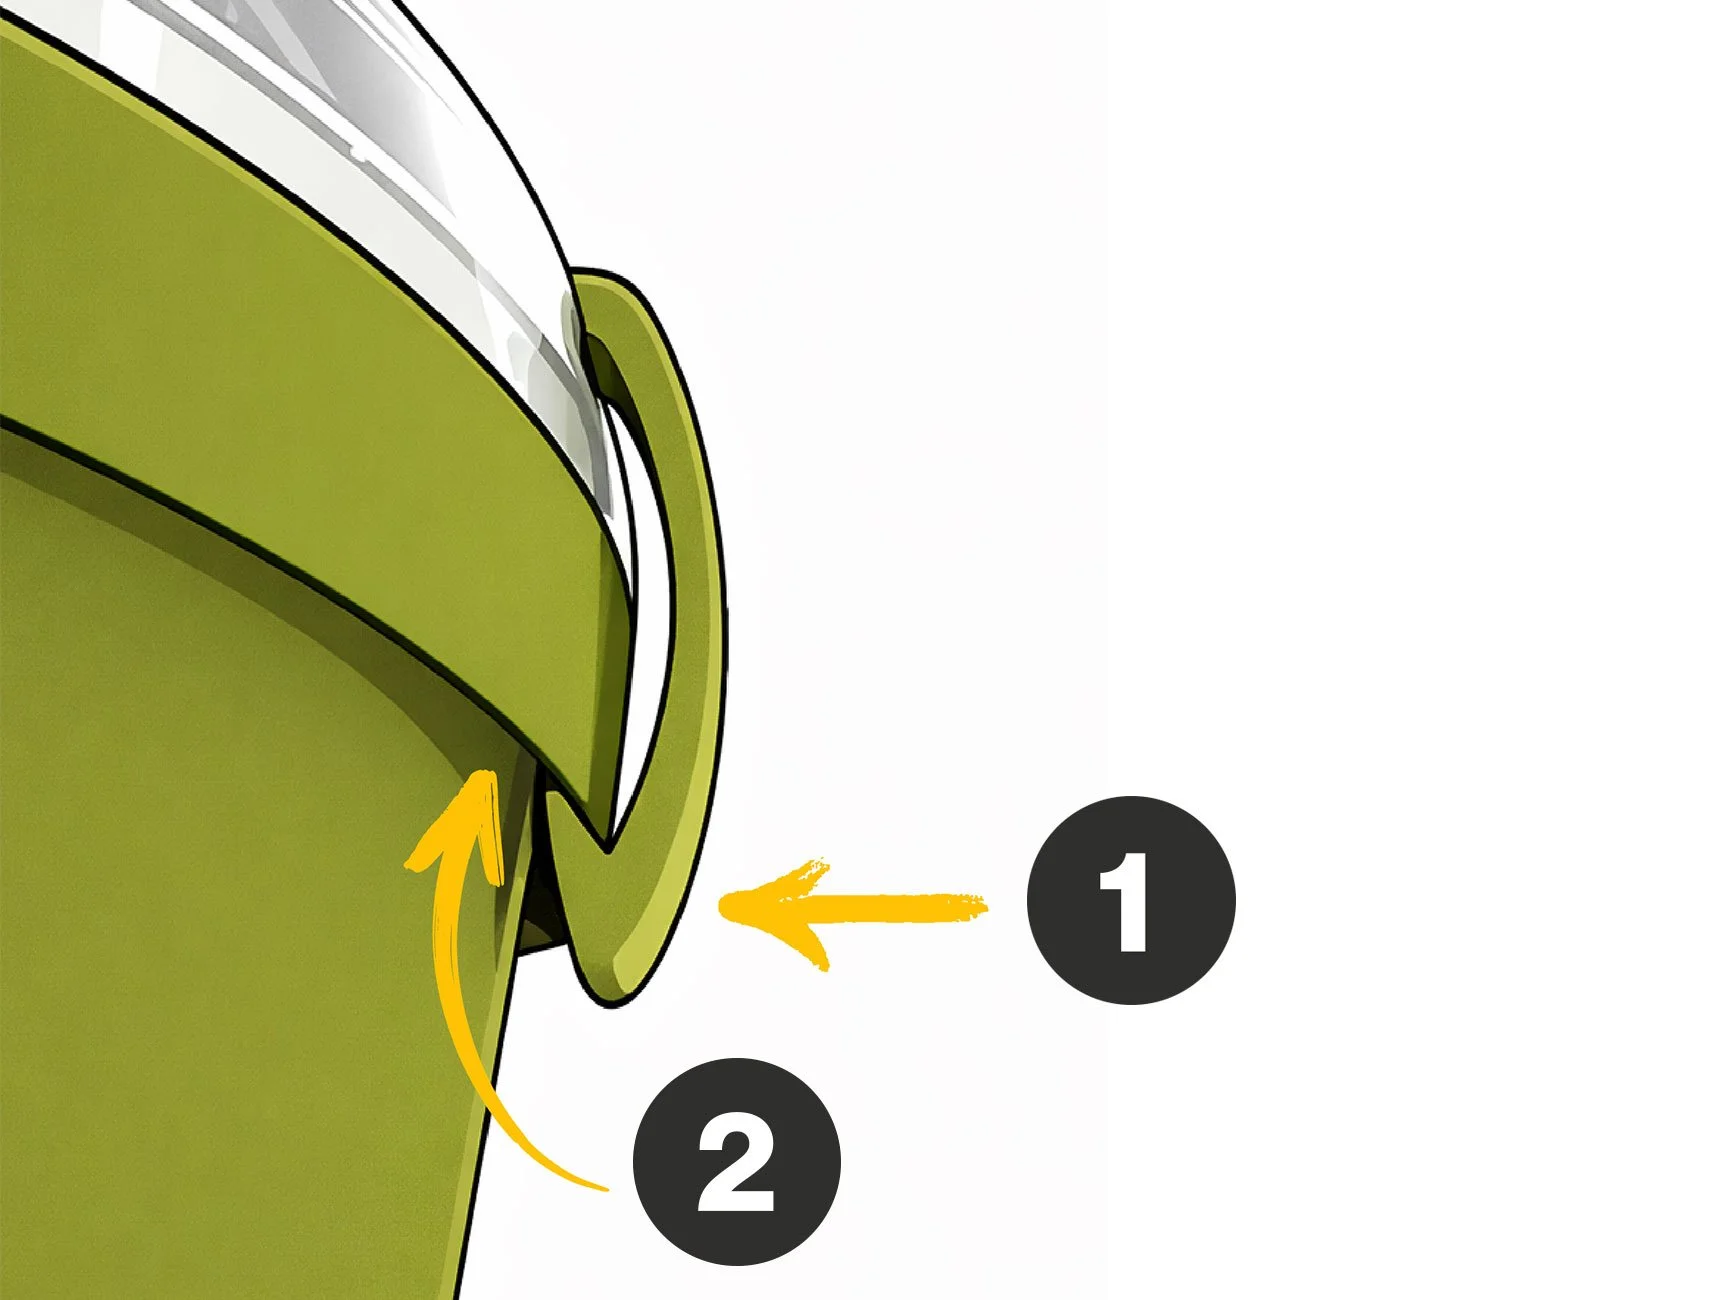
Use your thumb or the palm of your hand to close the clip onto the bucket lower rim. Apply a little pressure until you feel the clip pop into the closed position.
(1) Apply pressure
(2) Snap clip under rim
6
Deploy Your Trap
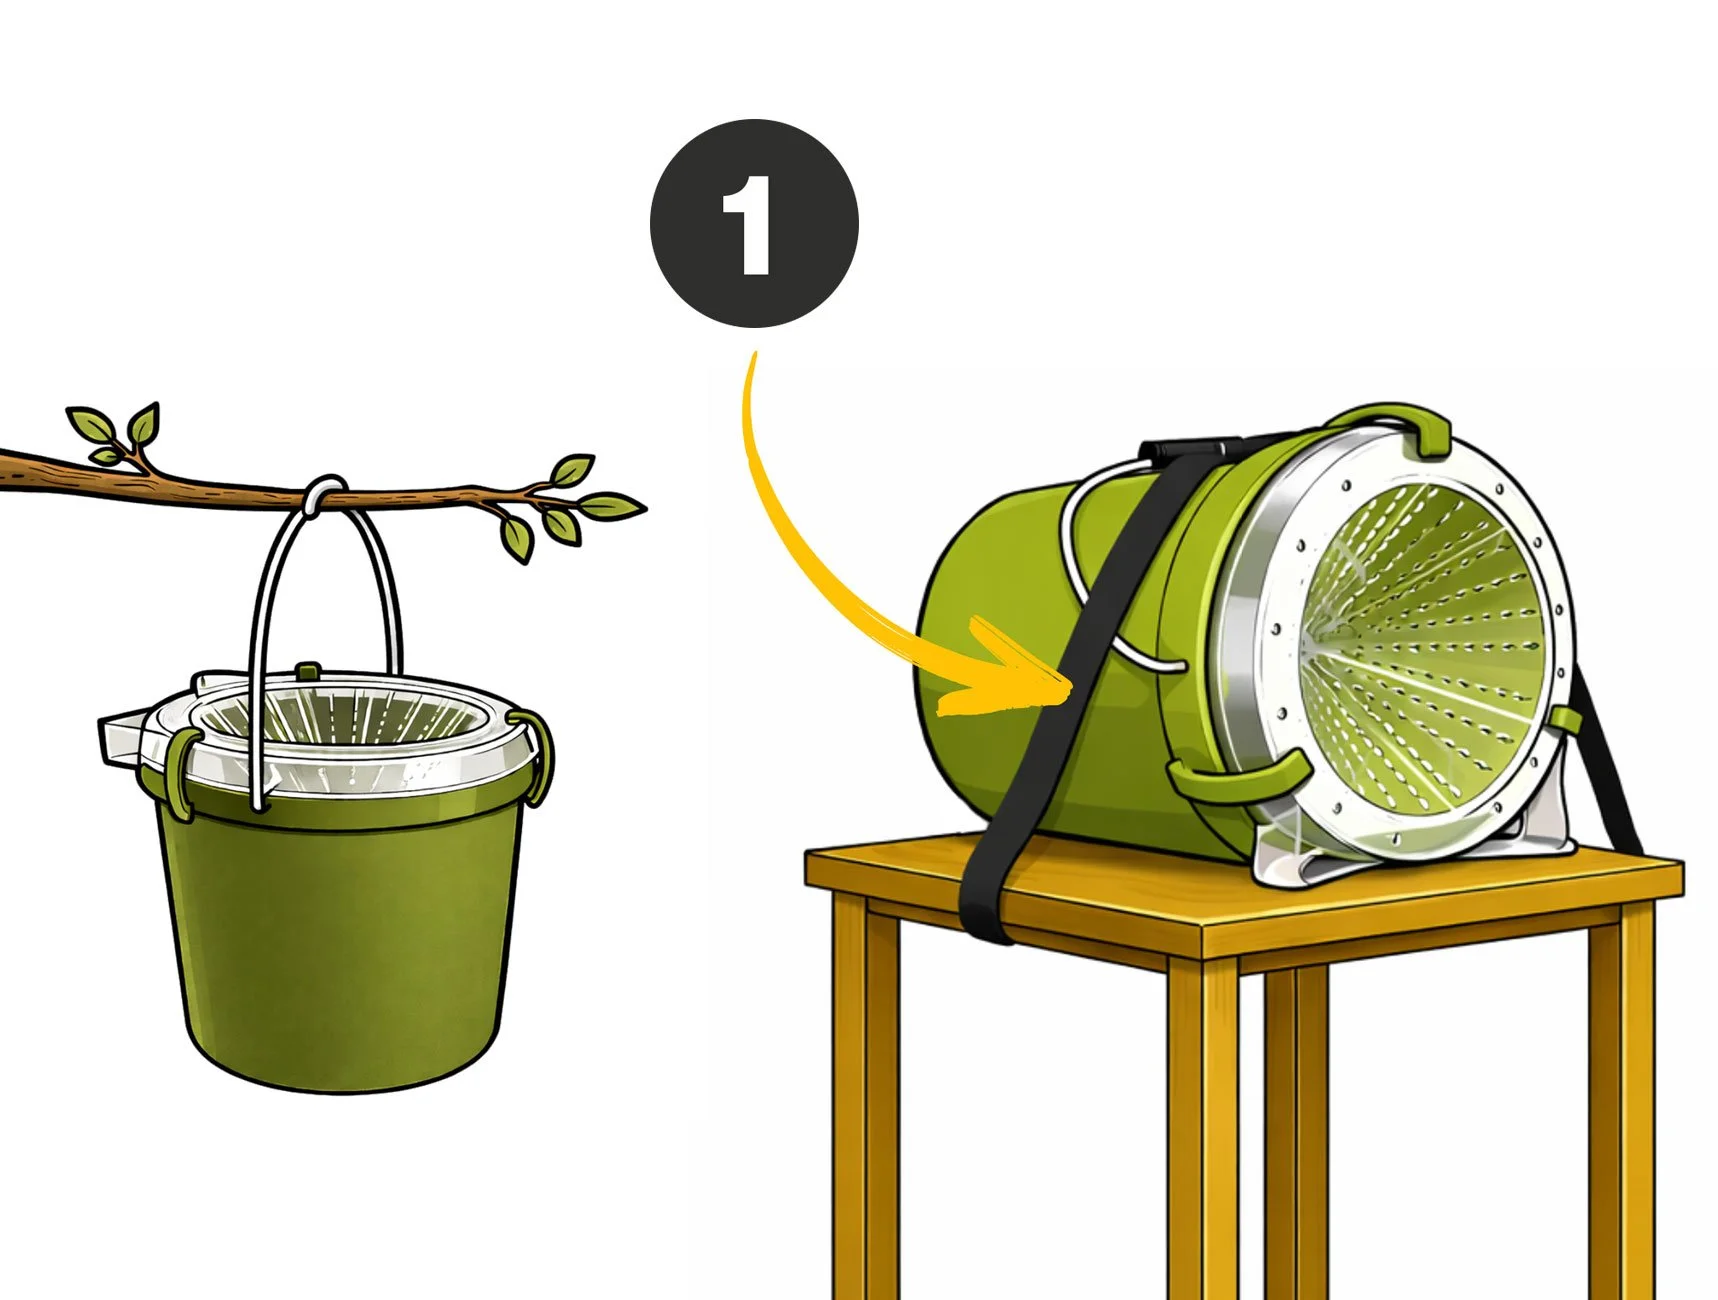
Trap-X® is designed to be used in either an upright, or a horizontal position. Place the trap on a stand, or alternatively, in dry weather conditions, hang it from the handle on a branch or bracket.
(1) Use a strap if required
